These photos are of the wing after it was disassembled, the sheet metal ribs were patched, corrosion treated, and primed, and all hardware was cleaned up. These photos were taken during the process of recovering. Much of the work is in the repairs and prep. If the old ribs and hardware were just slapped together onto the new spars it would be a pretty quick job, but since taking a wing apart is ideally an event that happens at most every 20 to 30 years, you want to take the time to do it right.
These wings are now about 10 times more weather resistant than when they left the factory. The metal spars are noticeably stiffer than the older wooden ones. Rob installed a new metal leading edge which extends all the way back to the spar, which also provided extra stiffness.
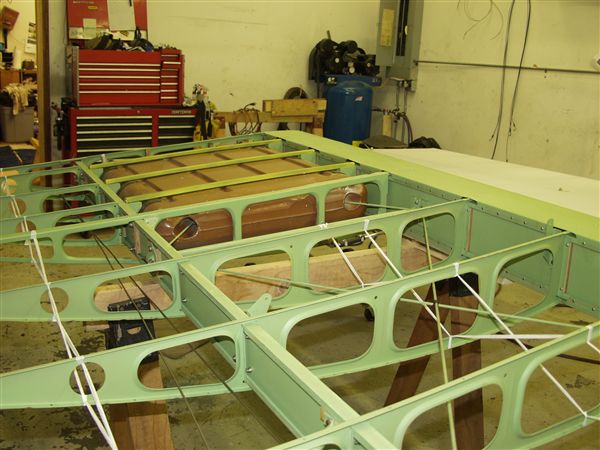
Here's the left wing uncovered, with the bottom side up looking from about the wing center point towards the wing root. The brown thing "inside" the wing is the fuel tank. Notice the metal spar, the criss-crossed drag and anti-drag tensioning wires, and the criss-crossed fabric tapes to keep the ribs from buckling over once fabric is applied and tightened.
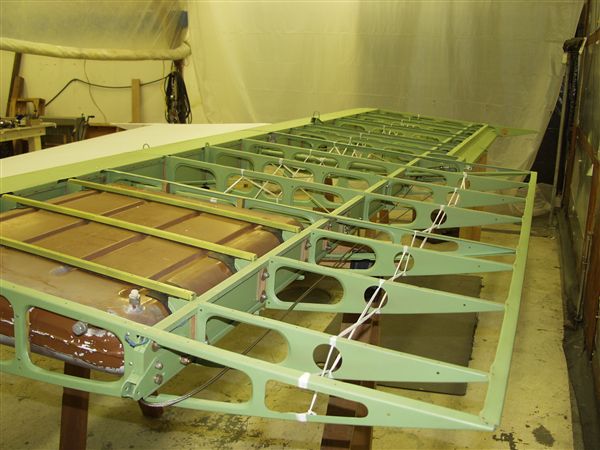
Here's the trailing edge looking outboard:
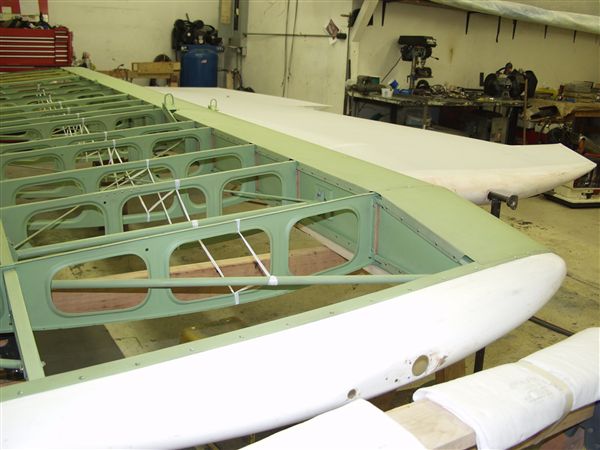
This is the wing tip facing inboard, still with the bottom facing up. Notice the right hand wing with cover already applied in the background.
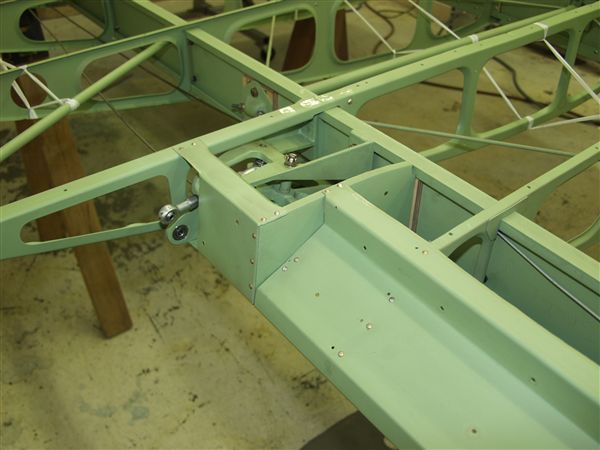
And the left hand aileron cove and bellcrank bracket.
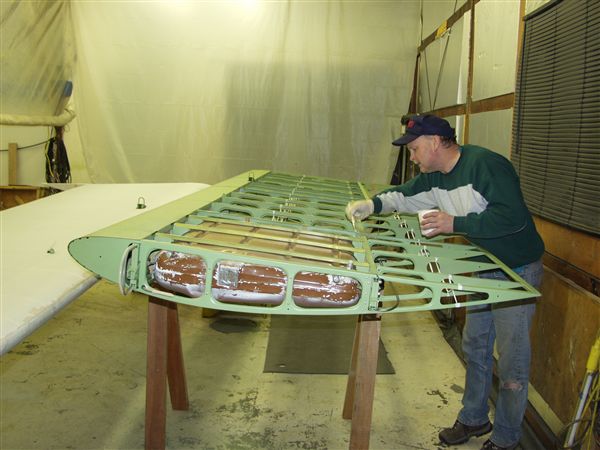
Here's Rob applying some Poly-Tack:
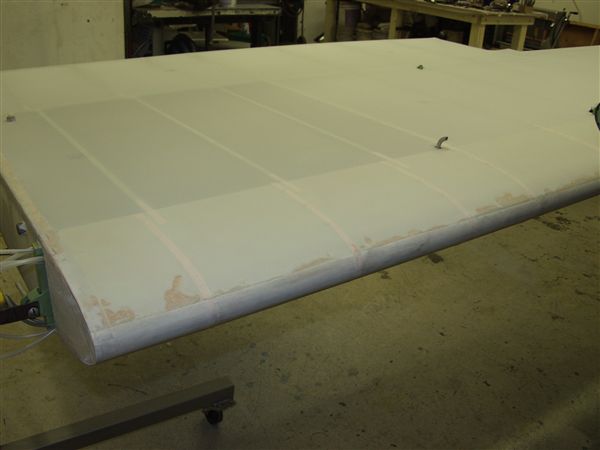
Lastly, here's a detail on the right hand wing with fabric applied and shrunk, but before finishing tapes were applied.